Here is how I set up guest accounts and desktop for LTSP ( Look at 25pc.com for the tools and downloads you need) on Linux Mint Debian Edition 64 bit MATE:
1. Edit “/opt/ltsp/i386/etc/lts.conf”. My lts.conf looks like this:
[Default]
LTSP_CONFIG=True
LDM_GUESTLOGIN=True
LDM_PASSWORD=secret
2. Create guest accounts (guest password has to be the same as the value of “LDM_PASSWORD”):
sudo adduser ltsp20
sudo adduser ltsp21
sudo adduser ltsp22
sudo adduser ltsp23
sudo adduser ltsp24
sudo adduser ltsp25
3. In order to refresh guest home and settings every time guest login, we need to create a file “/opt/ltsp/i386/usr/share/ldm/rc.d/S00-guest-sessions”. Put this following text into that file:
case "$LDM_USERNAME" in
    ltsp*)
        ssh -S "$LDM_SOCKET" "$LDM_SERVER" 'cd; rm -rf .* *; rsync -a /etc/skel/ .'
        ;;
esac
4. Set conky to start up automatically on guest login:
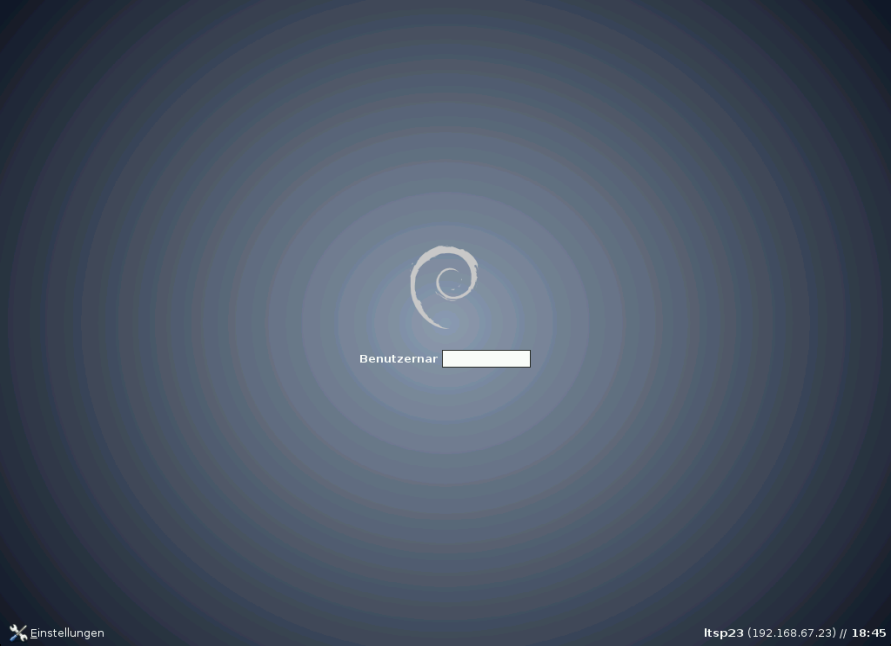
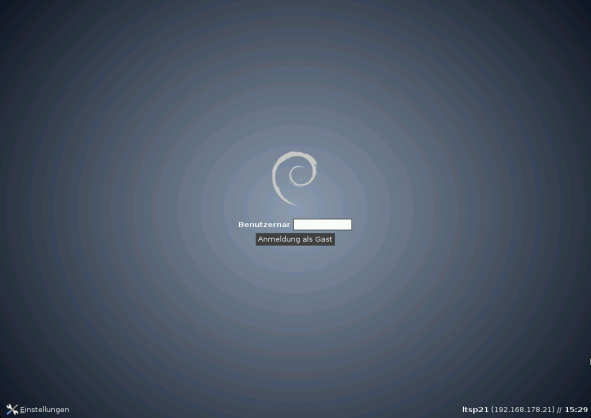
4.1. Login as guest:
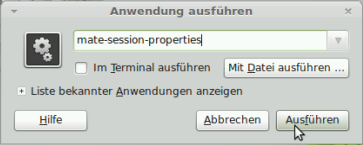
4.2. Press ALT-F2, type in “mate-session-properties” and click run:
4.3. Click insert:
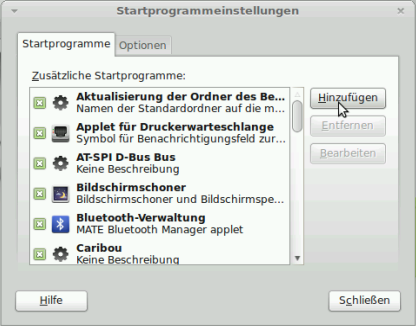
4.4. Type in conky autostart command parameter “conky -p 15”:

4.5. Copy “~/.config/autostart/conky.desktop” to “/etc/skel/.config/autostart/.”:
$ sudo mkdir /etc/skel/.config/autostart
$ sudo cp ~/.config/autostart/conky.desktop /etc/skel/.config/autostart/.
5. Remove “shutdown” button from system menu and deactivate screen-lock:
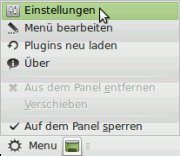
5.1. Start menu settings:
5.2. Click System Tab and unselect “lock-screen” and “shutdown”:

5.3. Click close.
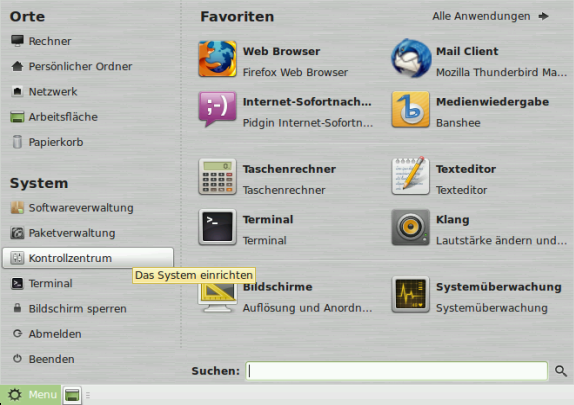
5.4. Start MATE Control Center:
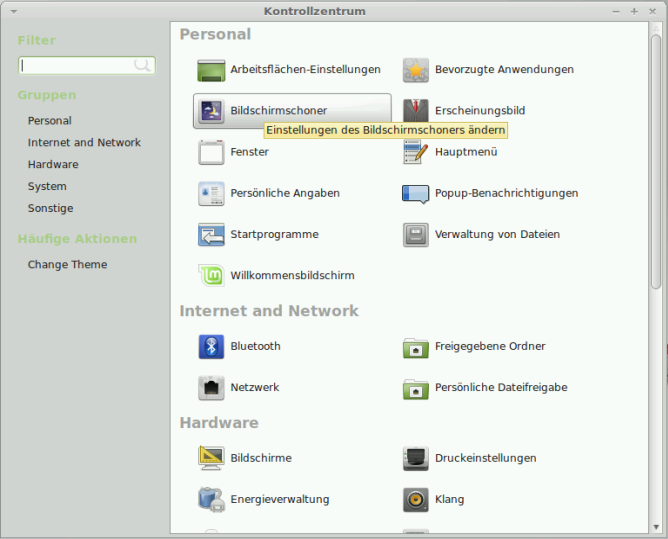
5.5. Select Screensaver:
5.6. Unselect “lock-screen, if screensaver is active”:

5.7. Click close.
5.8. Copy “~/.config/dconf” into “/etc/skel/.config/dconf”:
$ sudo cp -R ~/.config/dconf /etc/skel/.config/.
6. Restart computer and that’s it!